Friday, July 3, 2015

Simple Tricks to Home Makeover in The Color Of The Year


Color Of The Year 
Makeover Any Home


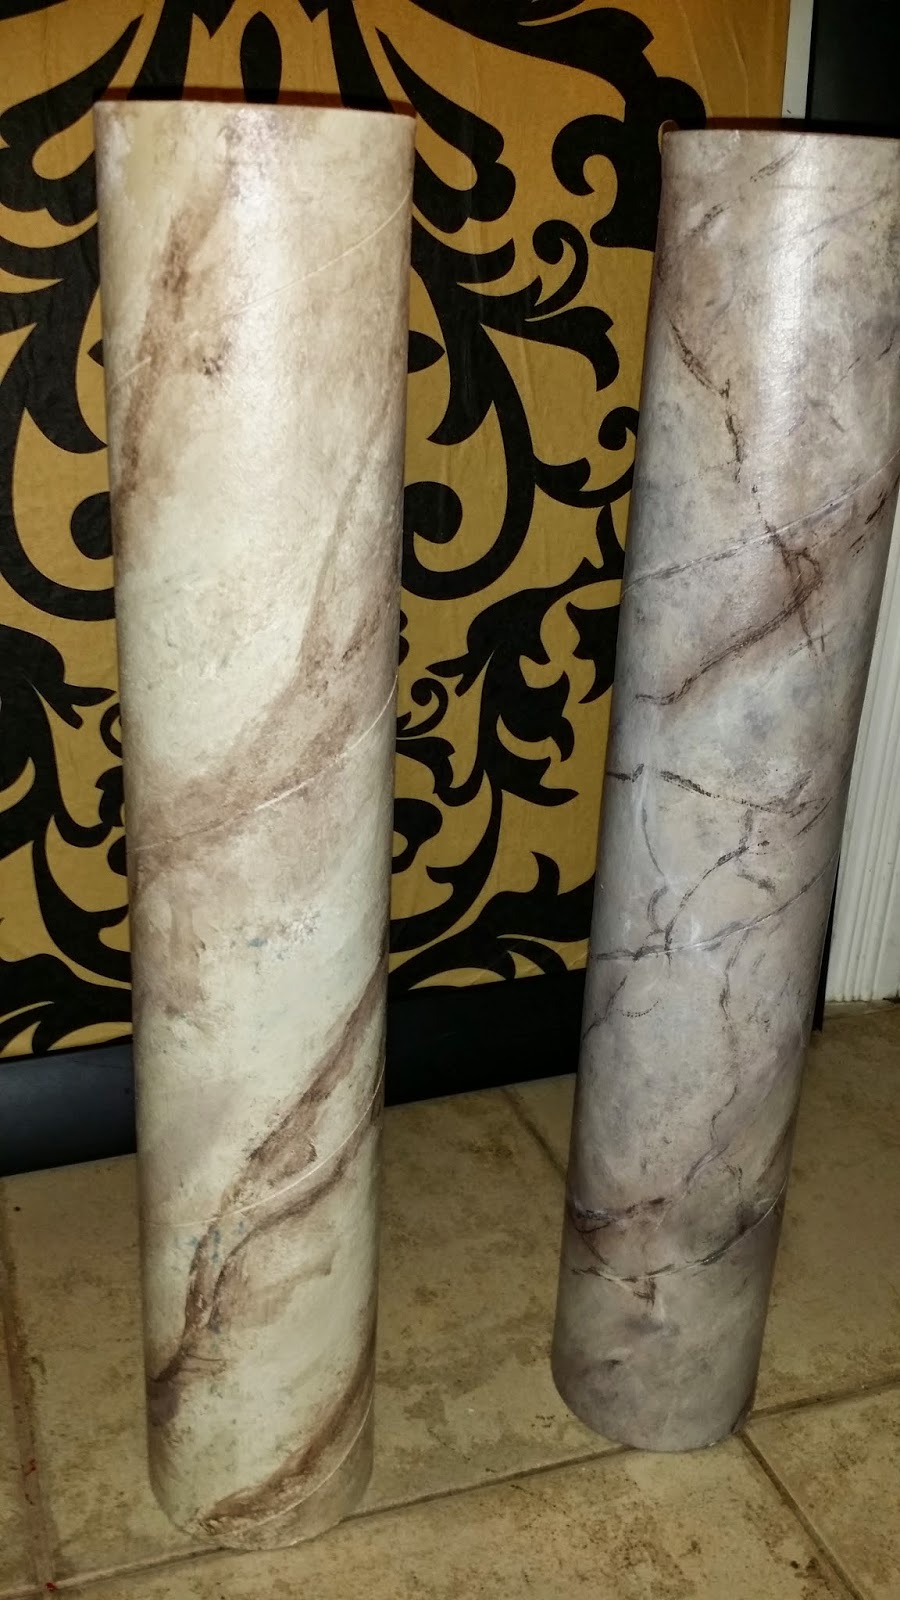
First Things First: Stick to the basics


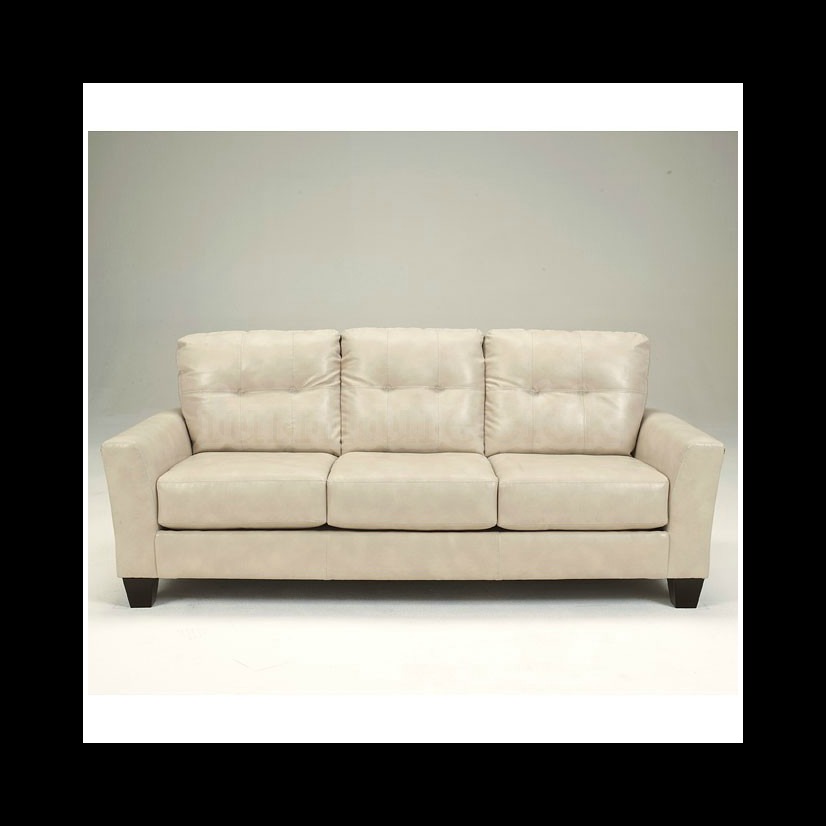
When selecting your furniture, whether it's brand new or new to you, stick with a neutral color. You can always add color to your home with pillows and soft blanket throws.

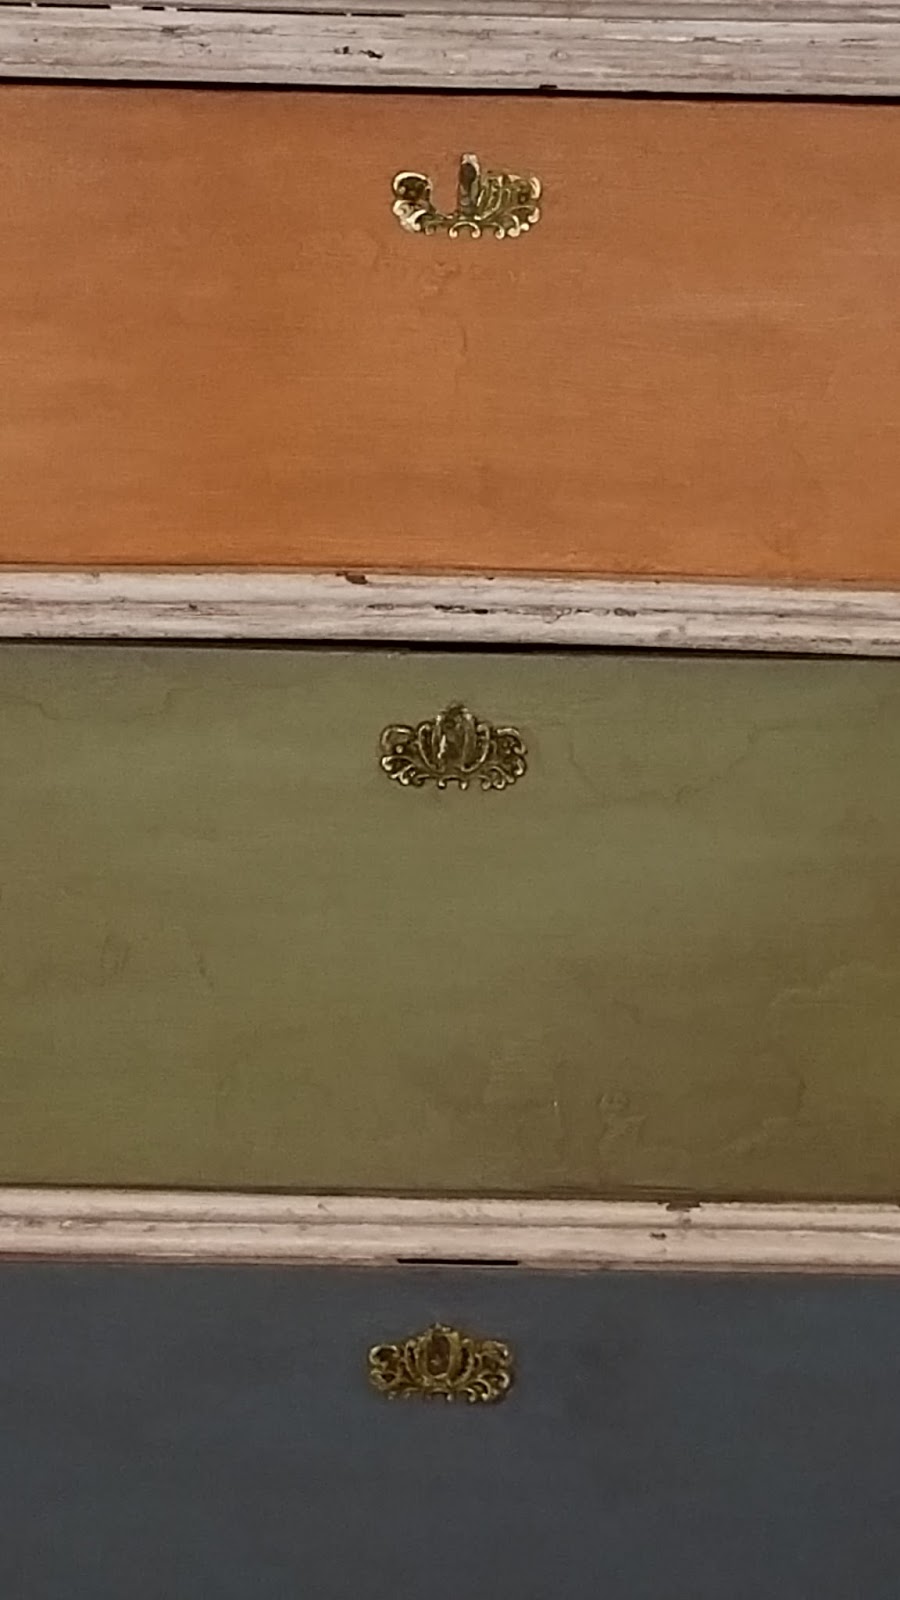
Next Step: Add Your Color


I tend to go for colors I truly adore, however in this case we are selecting the color of the year for 2015 which is Marsala. Pick your decor based on the style you prefer. If you don't have a particular style such a Modern, go with something that peaks your interest.

Design is not only a tale of your imagination, it is who you are as a person. It tells the tale of where you have been and how far you have come.

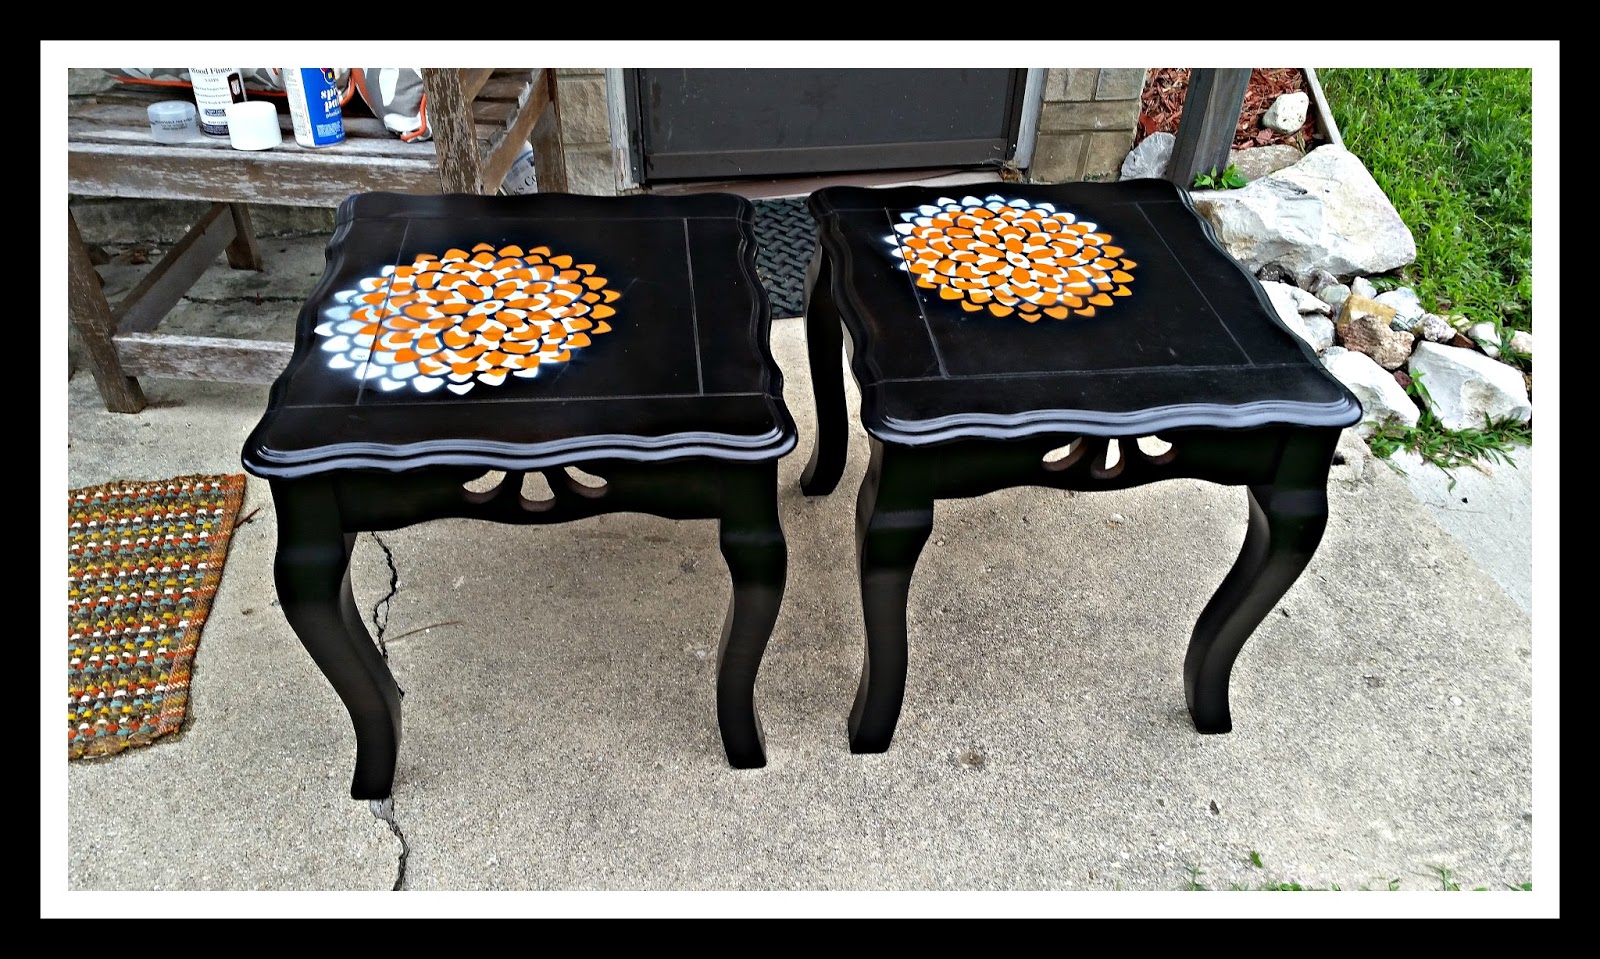
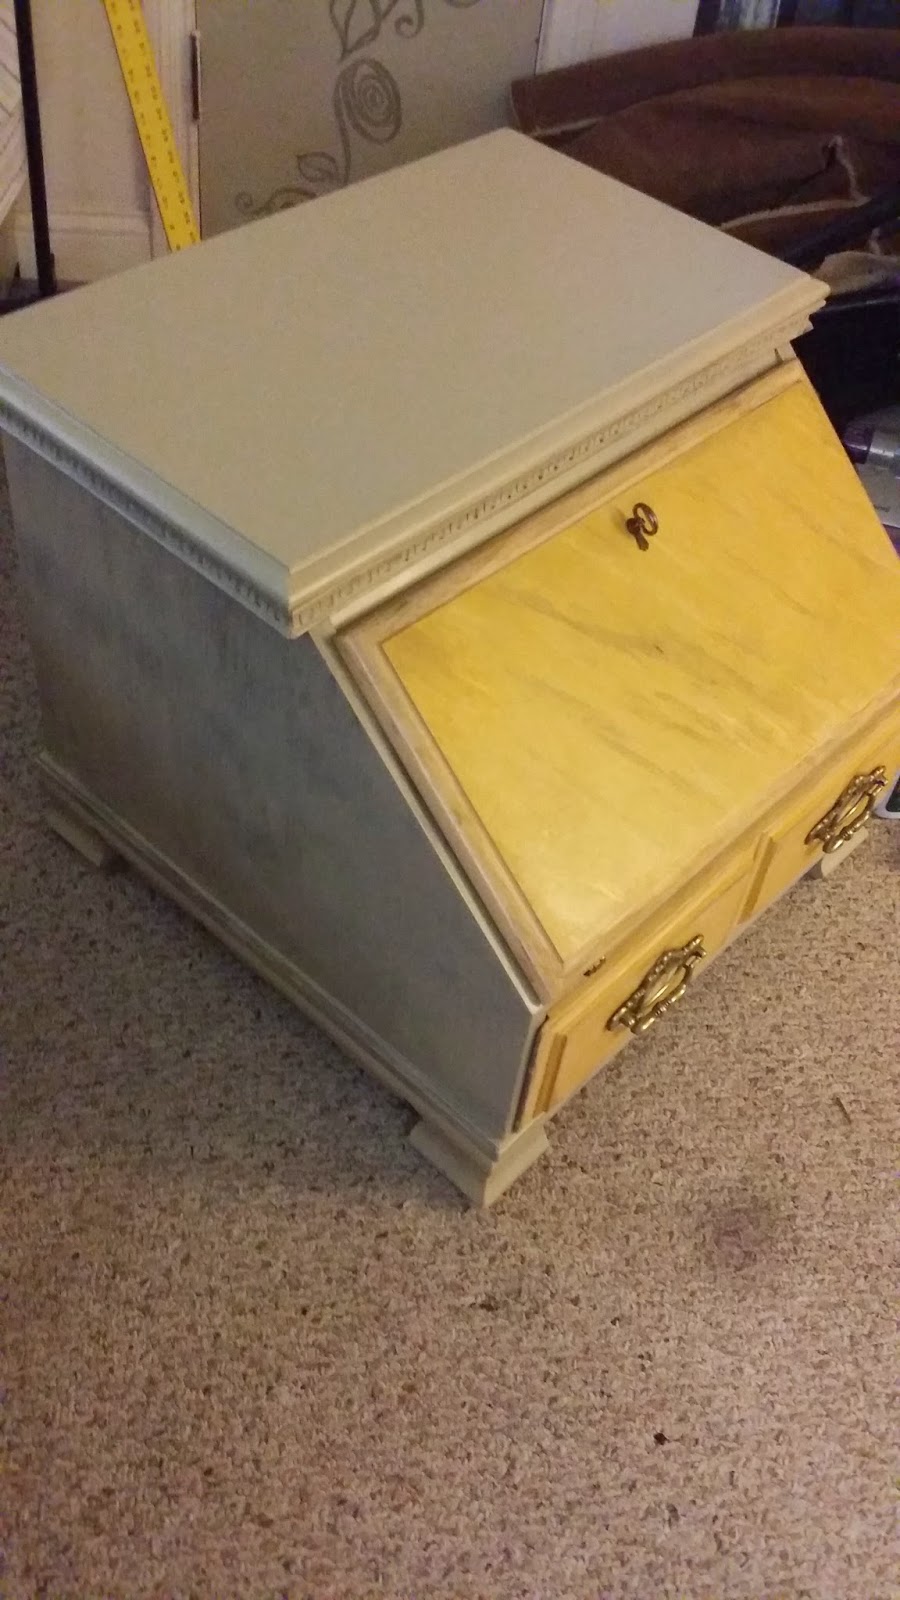
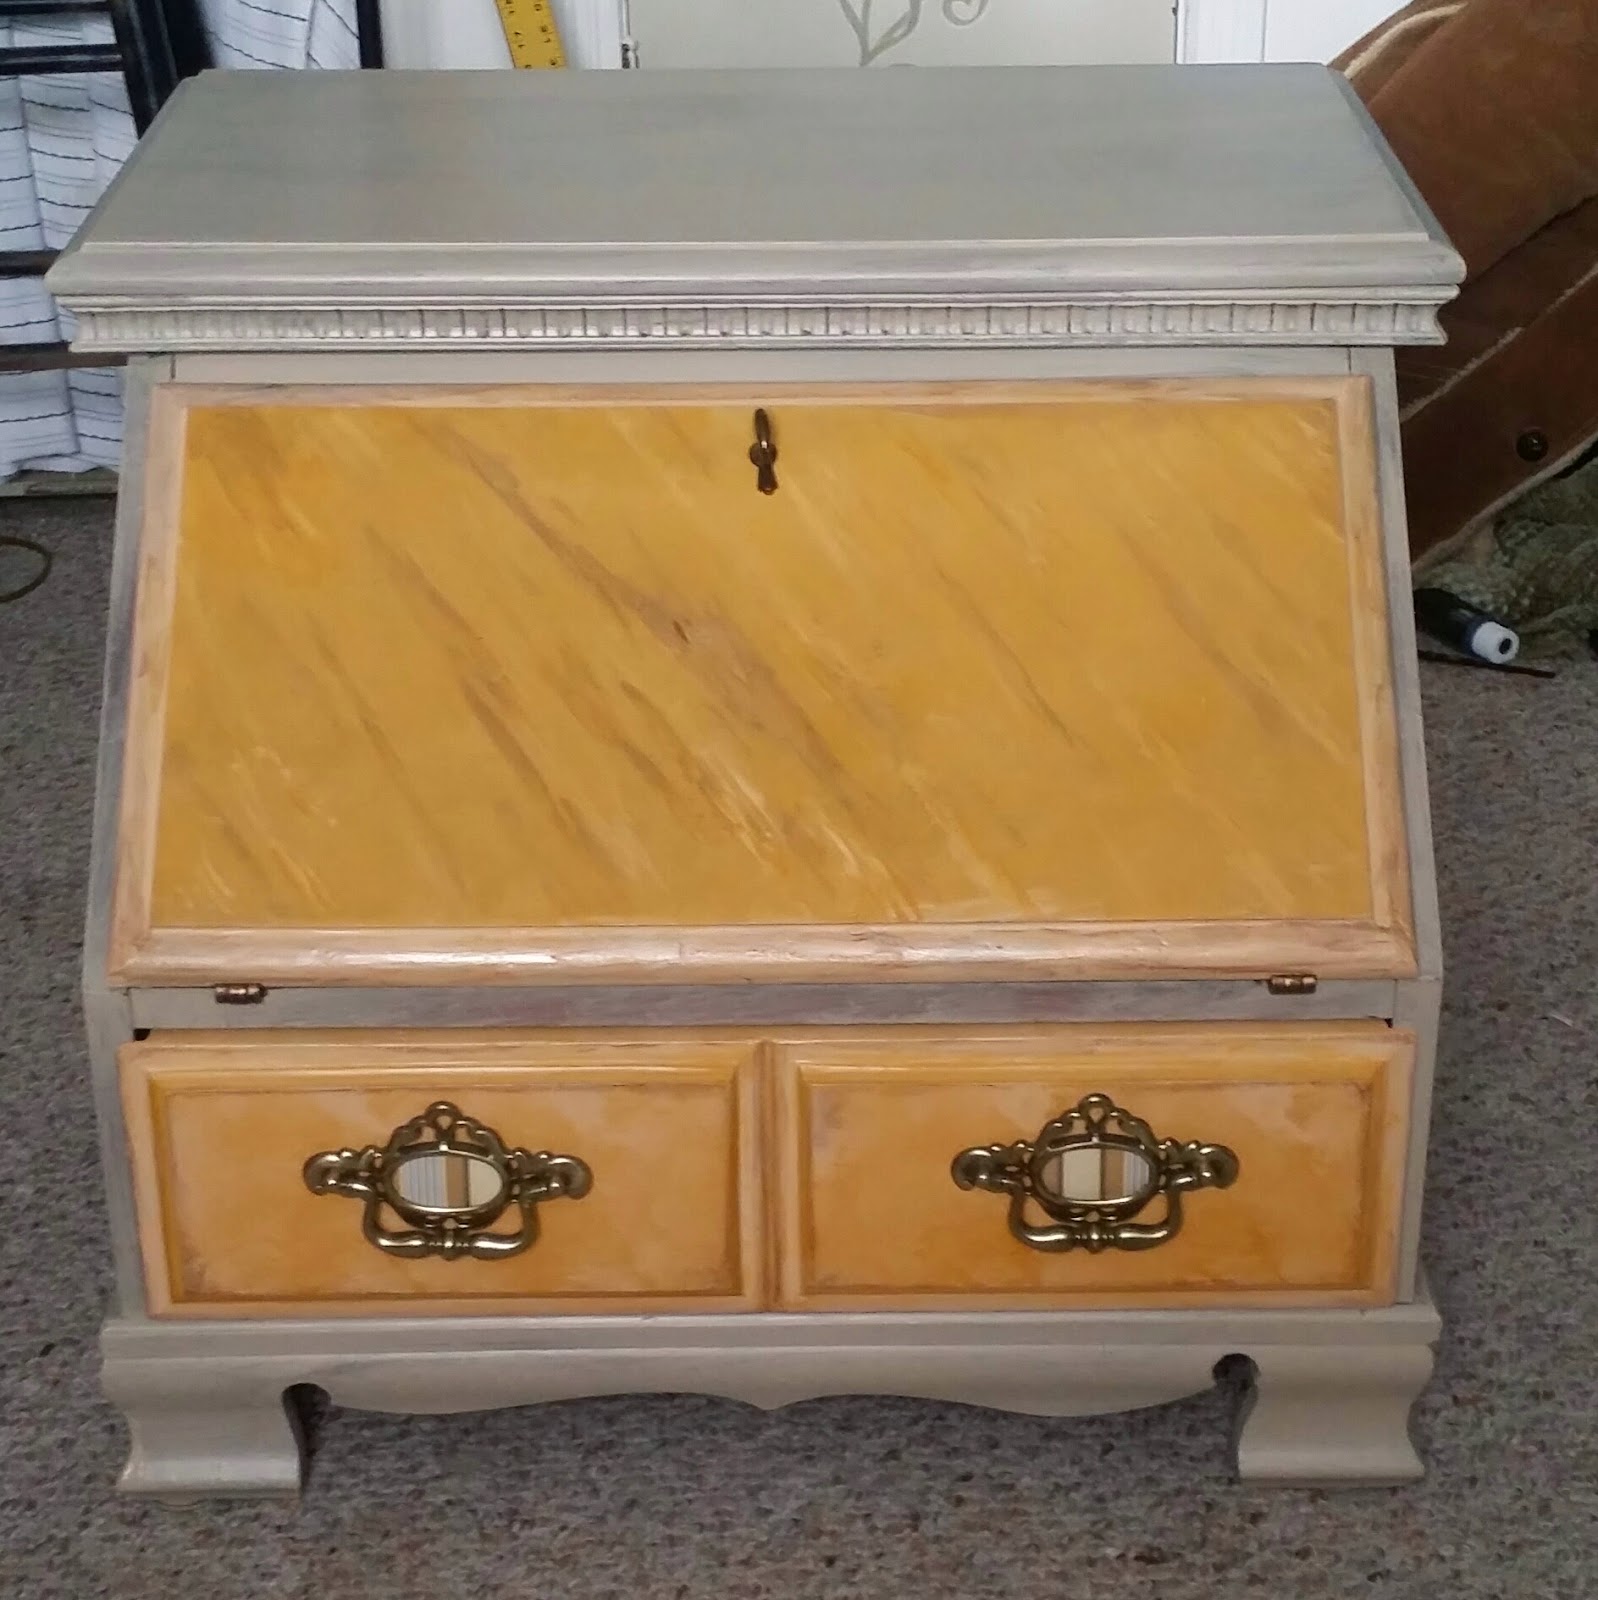
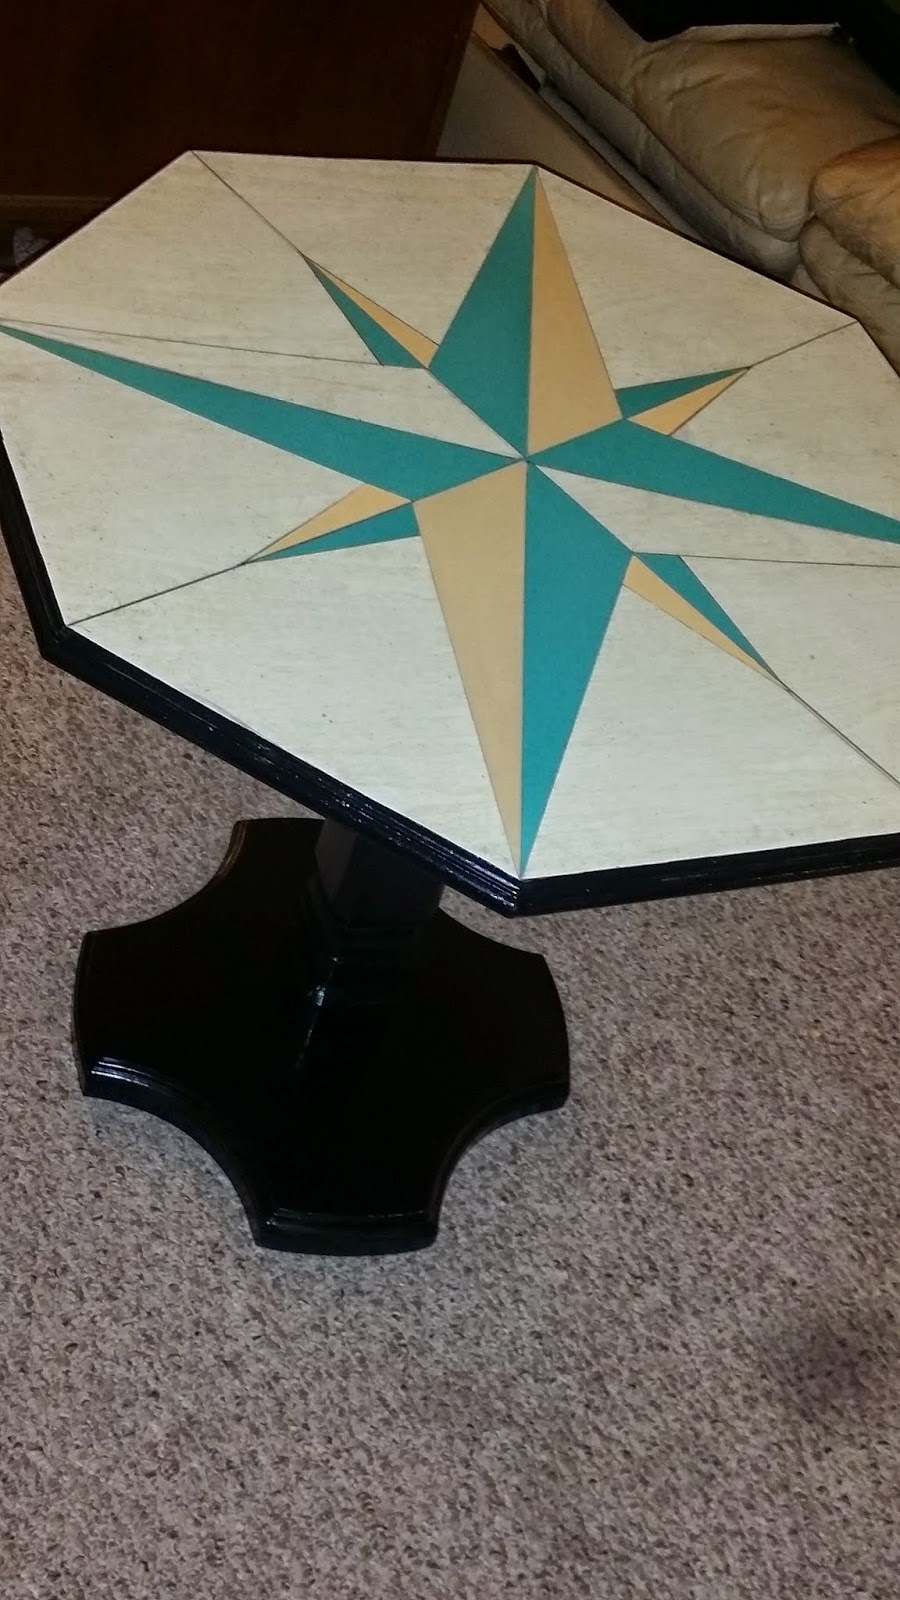
Last Step: Go For Broke


I thought since I love to paint furniture, I would add just a touch of my style. Grab a piece of your favorite furniture and paint it! Be bold and use your imagination. Just remember, paint is never permanent. While you're at it, take one prominent wall in your house and paint it that perfect color. It adds character and compliments your new look.

There you have it folks.. This is my design style!

Thank you for reading my blog and Happy Designing :-)

Out With The Old And In With The Newly Refinished Furniture


Fantastic Table Makeover

Is there anything better than a makeover session with your favorite paint colors?  I know, I know.. This is not the color of the year, but that burnt orange is so fabulous I just couldn't resist! 

These table were given to me by a friend that was moving out of town. I've had them for almost a week and couldn't figure out what I was going to do with them. I went through my stencils today and I found the perfect one. 

Here is the before picture

These tables are modern/country with the rounded edges and cutout pattern on the front. I didn't really want to cover the pattern up simply because it's gives the tables a bit of character. 


A flat black spray paint did the trick.. I took the perfect stencil and two different colors of spray paint and gave it a once over with each color. You can do so many different color combinations, but the burnt orange and white seems to be just that color combination I can't get away from.


Add a piece of glass to each of these tables and they become the "Perfect" end tables for any home.. Modern or country? You can choose :-) The great thing about these tables is that you can choose to show the country detail or turn them around and keep them modern... 

This project is for any range of painter and you don't have to be perfect. Just keep in mind that you must tape newspaper around the edges to keep the overspray from getting on the edges of the table. 

As Always... Thank you for reading my blog and Happy Painting! :-)

Monday, June 29, 2015

Update your home with a Double Coat of Fabulous-Dresser Makeover


Two Coats of Fabulous

It's been awhile since I have refinished a piece of furniture. 
However, yesterday my very good friend gave me a few pieces... Sad to say, she is moving to Florida. So I decided that in honor of her kind and generous nature, this one is for you Kelly!

Originally I was going to go with my normal everyday brown and turquoise but I decided that bright colors were in order. I started this by removing some of the paint, but then I realized after struggling through the removal process that there were two coats of paint on this sucker.


My mind went straight to "Oh Lordy" and "Not a chance" that I am going to spend twenty hours on paint removal. I went straight for my tinted wax that never fails. I sanded the entire piece and then coated it with the wax. What a transformation! The wax made the wood look like wood again and distressed the piece to make it shabby.


Once I removed some of the paint I was able to remove the super cool decals that had been added before the piece was painted white. I removed the paint from the decals and coated them with clear fingernail polish to add some shine.
The colors I used on the dresser drawers were a bit brighter until I put the tinted wax over the paint. I love the way this piece turned out. I put some new hardware on it and lined the drawers with decorative craft paper and Voila... A beautiful piece of furniture for any beautiful home. 


Thank you for reading my Blog.. and as always... Happy Painting! :-)

Thursday, April 9, 2015

Recycled Shrink Wrap Rolls-Get A Marble Makeover


Teaching Classes in the local area.

As you all know I love to paint as much as I love breathing. I am in the works with a local business owner to rent a large space. It's time to move to the next step. 

Ok so on to the shrink wrap rolls... I have been collecting them for a class I wanted to teach and needed some samples. So I got with a local warehouse and they graciously donated a box of them to me. 

I started by painting a base coat and then onto the marbling.


The colors I used were neutral but if you like, you could use any bright colors that suit your fancy. Everyone knows how much I LOVE pink and I am surprised I didn't use any tonight.


The main thing some people have the hardest time with is the veining. I found that using sponges and thin brushes make it easier to get the veining just right.


Last but not least... make sure to spray your finished project with a clear coat to not only protect the finish but to give it the shine of natural marble

I know I know, I didn't give you much detail but remember if you are in the local area you can come and sit in on a class or maybe even take one of my classes..

Thank you so much for all of your support! It means so much..

Thanks again and Happy Painting!

Monday, April 6, 2015

Update your Design On A Budget....Spring Spruce Up


Recently I went shopping for my Spring Spruce up... 

This time of year we all like to spend that extra cash we get from Uncle Sam. I find that shopping on a budget is not only fruitful but can be the most rewarding. The place I chose to shop is ...Wal-Mart.

Normally I would choose is Kirklands, however shopping on a budget calls for the big guns. I went walking around the home section and came upon some of the most awesome finds. 


I found this beautiful bright caribbean blue decorative mirror for under $25 dollars. 
What a great pop of color for any room!


I found this super cute magnetic lamp embellishment. You take this cute little flower and put it on the front of the lamp and add the magnet to the back. Instant Redo!


This was an awesome find. This chair was a a definite surprise especially for Wal-Mart. You would normally find a chair like this in a high end furniture store. I found this chair for under $70 dollars.
This is the "Perfect" desk chair or end chairs for the kitchen table.


I found this super fun uplamp that I just had to share. You could certainly spruce up any room with this baby. This is great on the budget as well at just under $30 dollars. 


The Grand Finally!
The picture of Marilyn Monroe... You all know how much I love her and to find such a great buy for under $20 dollars is definitely the most amazing buy on today's budget.

All in all I would say that I did a great job and all under $200 dollars. 
What an amazing day and "On a Budget"


Thanks for reading my blog and Happy Sprucing! 

Saturday, March 28, 2015

Another Piece of Furniture Saved-New and Improved shoe cabinet


Here is my New and Improved shoe cabinet. 

I found this cabinet at one of my favorite shops in Indianapolis for $10.99. It was in great shape and at an even better price. However, it needed an upgrade of some color, a drawer liner and new drawer pulls. 

I started with the drawer liner. I found this awesome contact paper that always looks good and sticks well to wood. 

I removed the drawer pulls and added a new set. I added the same contact paper to the inserts of the drawer pulls to make them pop. 


Now on to the colors. I mixed several shades to come up with the marble look on both the drawers and the cabinet door. It took just over 3 hours to complete. I decided against painting the inside of the cabinet but instead gave it a tung oil finish. I wanted to leave the inside unfinished for a bit of simplicity.


For today, my work is done. The tung oil finish is drying and all thats left is to sand with steel wool and apply one last coat. I think this turned out to be such a beautiful piece that will look fabulous in any home.


That's all for today... Remember, if you have any questions about colors and the finish on this piece please contact me at theleakycauldron@gmail.com

Thank you for checking out my blog and Happy Crafting!!

You can see this item in person at 

The Room Swap
Plainfield, Indiana


Thursday, March 26, 2015

Creative Superstar at Your Service- Making that Table Something Special


About 6 months ago I painted this table and it turned out pretty awesome... At least that's what I thought. I was in my shop and I took a look at it and it just wasn't up to my standards. So I brought it back home and sanded it down to do it again.

I wanted to make something super cool this time. So I took this...


And I made this....


I saw this super awesome nautical themed dresser with this awesome star. I knew it was the perfect thing for this table. I just needed to come up with the right colors. The 2015 color chart has the latest trending colors but I don't necessarily go by the trends. I kinds like to to walk my own path.

I have never been one for trends. I like what I like and it works.


I used a muted pallet versus the brighter colors I usually use. The black base just made this entire piece pop. The muted colors of the star make this a very mixable piece. What I mean by that is it can be used in several different ways and will flow with lots of different colors.


There is definitely a method to my madness. 
My Goal... Make It Work!

Thanks for checking out my blog and Happy Painting!