Sunday, February 22, 2015

Discover a Love for Hollywood Black and White Design


Hollywood Black and White Furniture Design

There is nothing better than free furniture, especially when it's awesome furniture like these cabinets here. My son and daughter in law brought me these cabinets yesterday and I couldn't wait to get started updating. 

These pieces are in fantastic shape. They look brand new on the inside and out. 

I have been looking for something like this to go "Hollywood" on since I am a great lover of black and white. 

You can't beat the beauty of Hollywood.  I had some super cheap white paint in the cabinet and I watered it down to make a super thin milky paint. I painted the fronts and they came out super clean. I wanted the paint to be super thin because it makes the finish so perfect. 


 I hand painted each one of the drawers with a black enamel 
paint from a company called Best.


I finished off the outside of each cabinet with the same black enamel. I also sanded them in between with steel wool to make the finish super clean. I also used a foam roller for each coat.


Here is the finished product! Two very beautiful "Hollywood"  black and white side table and
 lingerie /jewelry chest fit for a Queen.

Some of my best work yet!

Thank you for reading my blog! Happy Painting

Wednesday, February 11, 2015

Make That House a Home- Part Two.. Creating The Right Design. Not the Left


Make That House a Home- Part Two..
Creating The Right Design. Not the Left

Create a well designed and fully functional Office/Dining area

Here is the before picture of the office

When you live and work in a Triangle shaped house, you have to learn to adapt to not only the limited space but the actual shape.

Most of the furniture must sit against the walls to maximize the walking room. I know exactly what you're thinking... How can you make this type of house functional for a household and a small business? Well, it's always a challenge and you know how I "LOVE" a challenge.


The office used to be to the left when you walk in the front door. I have since moved it to the right side.  I refinished a longer, thinner tabletop and added some table legs made from two different sets of legs. I then set the table with two lamps instead of one.


I added a bookshelf to pull everything together. Remember that this functions not only as a desk, but as a dining table as well. Since I had to limit the items for the desk, I used a separate rolling cart for the printer and all of the baskets for paper and files.


I used a storage bench for the seating and a padded footstool under the desk for extra seating. The bookshelf has a set of doors at the bottom for those items that don't necessarily need to be seen everyday.


All in all, I believe this to be not only a functional design, but a charming one as well.


As Always, Thank you for reading my Blog! 

Have fun with your design ideas and enjoy making "Your" house a home.

Saturday, January 31, 2015

Make that House a Home- Tiny House Makeover Room by Room- Living Room/Bedroom/Office


Tiny House Makeover Room by Room

Living Room/Bedroom/Office


For a couple of years now, I have been living in a tiny house I call "The Leaky Cauldron". It is a one bedroom stone house on the corner of the most wonderful neighborhood in a suburb of Indianapolis. The best part of living here, my next door neighbor is my best friend. The Leaky Cauldron is also where I create beautiful furnishings and projects. It's also where I create the savory dish combinations for The Midwest Food Blunders and More blog.
 
 
This is me :-) I am opening my Home to all of my readers.
Sharing my trials with you, one by one :-)
From Heartbreak to Home Makeover
 
Part One
Taking a living room and converting it to a living room, bedroom and office is one of the hardest projects for a designer. Especially when the house is shaped like a triangle. First things first... I need a closet. So I had my friend come over and put in a removable closet (just in case I wanted to move it around in the future).


      This is the space I chose for the build. 
I decided that it should be a 10x10 size closet.


This build took about 3 hours.
Buy a bunch of 2x4's and sheets of wood and you have a closet. There was a leftover shelf from another project that we added as well.
You know what they say, it's the little details of a project that really matter. This inside the wall shoe rack is a super space saver.
I also added curtains on the closet instead of doors.
It's always a great idea if you like change.


The only problem was... Where to put the light fixture once it was done. So I came up with a temporary solution to the initial problem.


String Large Ball Lights across the top of the shelf
 
This is just the start! Much more to come.... SO for now, Happy Crafting!
The next segment will include the entire transformation.


Sunday, January 25, 2015

French Country Headboard made from a Table Bottom! You gotta SEE this!


Make your French Country Headboard Today

Create the headboard of your dreams


Made from a table bottom


I was looking for a project today. I originally had a curved tabletop ready to make a sign. However, my best friend decided that she needed it to make her brothers birthday gift. So... I took this piece of a table that I had leftover from another project and decided to make a headboard. The wall has been looking so bare since everything has been rearranged again in the house. 


I used a Mint Green paint and a French Style stencil to decorate this piece. I also used a oil based polyurethane for the top coat. I also added two decorative handles to fill a couple of holes.

The end result is a super cool and functional piece that works great in the space. I also made a super cool table to go along with the theme. The table was made from a barstool, lamp piece and a plate charger.


As always, Thanks for reading my blog and Happy Crafting!

If you have any questions, please message me and I will be happy to share any of my tips with you. :-)

Crafty Crazy Over Marilyn Monroe Bookmarks Made With Calender Cut-Outs

Marilyn Monroe Bookmarks

Made from Calendar Cut-Outs


Have you ever wondered how many things you can do with those old calenders you have laying around from past years? I have had one laying around from a framing project for about 1 year or so. I decided I was going to finally do something with it this weekend.

I just happen to be browsing Pinterest and I found some super cool projects. The first one being these really cute book marks. I decided not to use paperclips for this project. I made mine with 1/4 inch cut dowels that way I can double them as other decorative projects


Here is a sample of the calender I used to make these cute bookmark/decorative pieces.


I used several different coordinating decorative 6x6 scrapbook paper books to decorate the back of these pictures. I also used a decorative black and white roll of duck tape to attch them to the dowels. 

Fun and super easy project. Just have fun with it!

Thanks for reading my blog and Happy Crafting!


Sunday, January 18, 2015

Up Cycle Your lids and make AWESOME WallArt.. Paris.. Here we come!

Pretty Paris Wall Art

Make this wall art with up-cycled plastic lids.

For this project you will need:

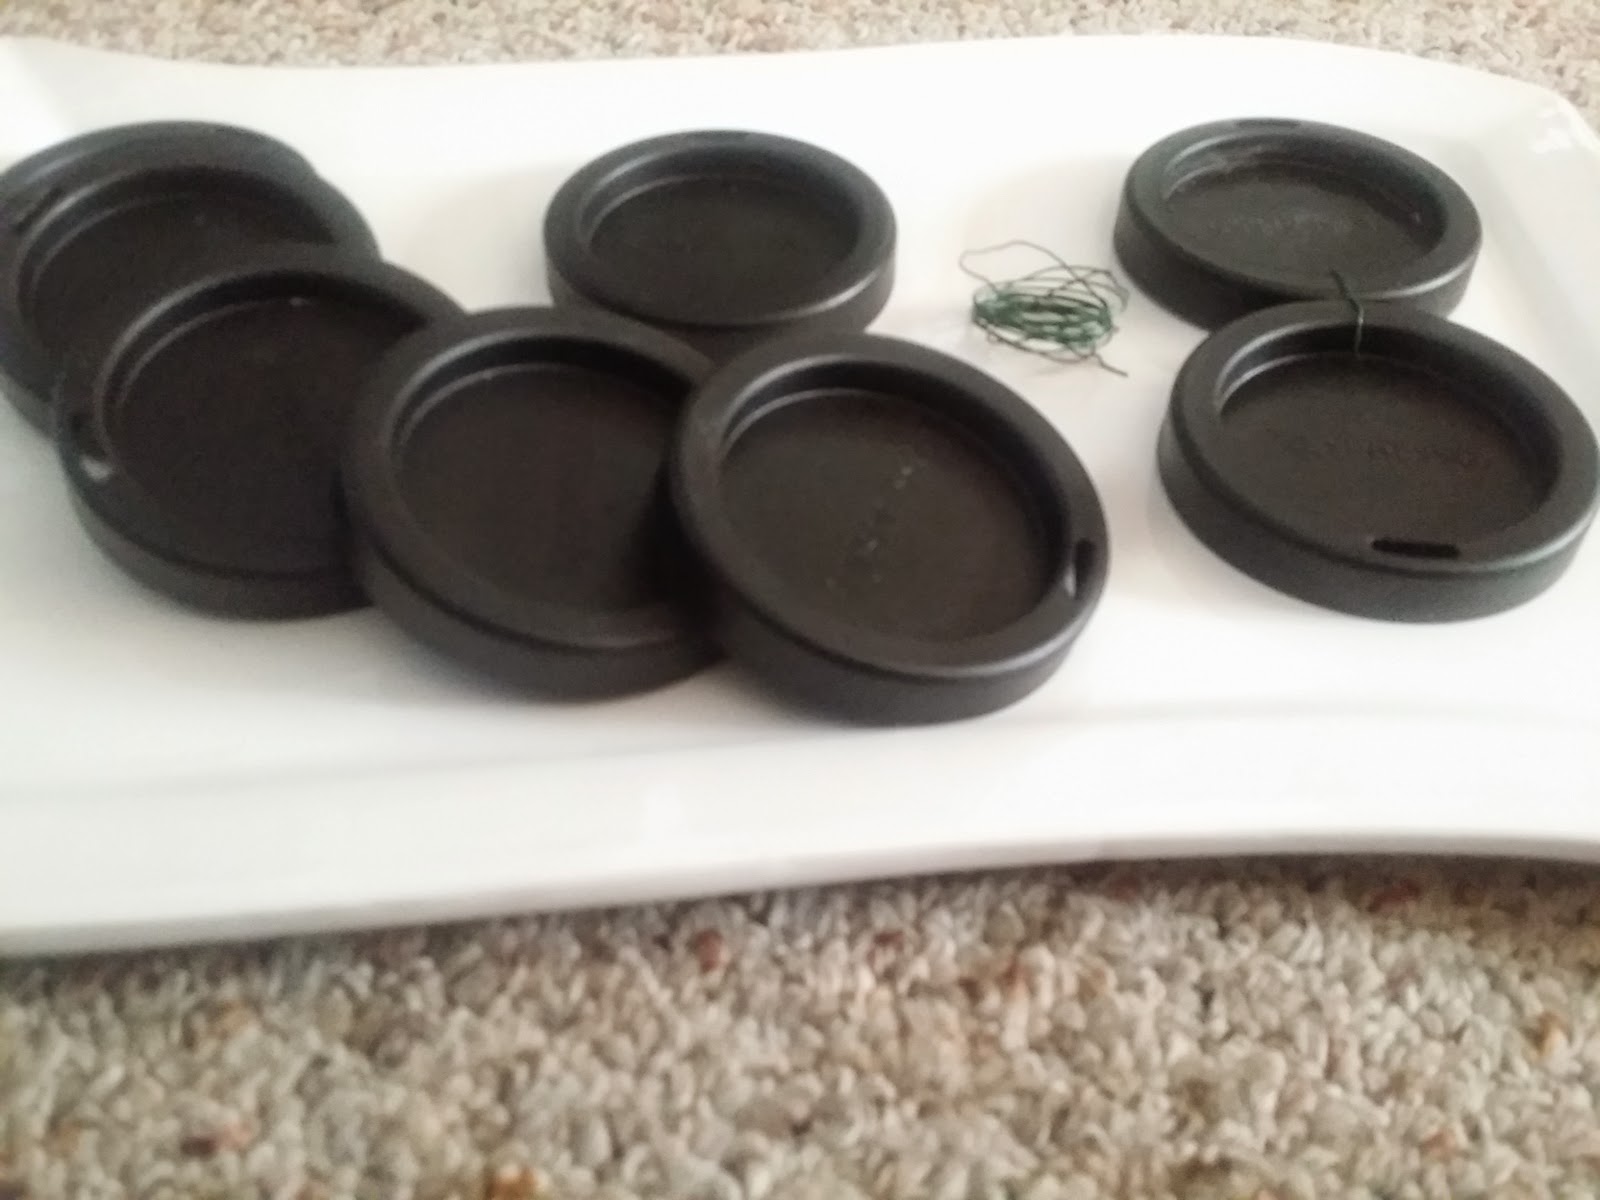
5 plastic lids
super thin wire for connecting the lids
2 ft of twine
3 small antique music sheets
1 plastic cup to create the circles for the design
scissors
Printed paper letters
glue and glue dots
Ribbon for bow
needle-nose pliers


Plastic lids- Cut the wire to connect the lids


Connect the lids in twos. String the wire through the small holes first.


Here you have some items you will need for this project


Take the plastic cup and draw two circles on each of the music sheets.
Put a small amount of glue in the middle of each lid and place the music circle in the lids.
Cut the appropriate length of twine to go around the inside of the lids.


Glue the twine to the inside of the lids
Tie some twine in between the lids to cover up some of the wire.


Print out your letters and cut them in squares. The take your glue dots and stick them to the lids.


Tie the bow and wrap the twine around it with enough length to make the hanger.
Tie the twine and hang your project!

As Always, Thank you for reading my blog and Happy Crafting!!  :-)


Tuesday, January 13, 2015

It's just the DIVA in me! The Refinishing Diva.....


Refinishing Diva


I can't tell you how much I love to refinish furniture.. It's one of the best things I do. I have a design background and it's one of the best way to express your design style.


Dresser #1
I loved this this piece. It was an old vintage style and had a honey color to it. It was kinda beat up but the bones are excellent. The drawers look brand new on the inside and not the outside looks brand new as well.

Please excuse the black spot on the picture. My camera is flawed at the moment! 

I just so happened to have these wonderful paint colors in the cabinet and decided to that they would look fabulous together. AND.. they did!

Dresser #2

Look at this beauty~
Classic case of simple sophistication


This little beauty came to me a bit unhinged. There were several flaws on the sides and on the top. I used a high gloss light green stain to compliment the existing color. The flaws were very easy to mask with the stain.

I used one of my french stencils to create a pattern on the bottom drawers and painted the handles a hammered bronze color.


Look at the detail on the edge of the dresser!


Look at how great the stain made the top look!


You too can make an old dresser look new, or make a new dresser look old.
These are just two great examples of what can be done with supplies you have in your cabinet.

As always, Thank you for reading my blog!
Have fun today and create a masterpiece of your own!

Feel free to give me your thoughts on how I can make this blog better for you, the reader! It's always nice to know what my readers think and help me improve on the content.

If you would like to see any of the current furniture pieces 

Please visit


Room Swap Consignments
9307 E Us Highway 36

Avon, Indiana
(317) 602-3950